Introduction
Before emailing an S-Docs document, you can choose an S-Docs HTML email template to automatically fill out the email body, subject line, and To/CC/BCC fields. This document will explain how to create S-Docs HTML email templates in the template editor. For a more in-depth explanation on how to create your first S-Docs template, click here.
Create The Email Template
To create an S-Docs email template, simply create a new S-Docs template and choose HTML as the Template Format.

In the template editor, enter the contents of the email body. You can use merge fields, SOQL queries, custom HTML code, etc. as you would in any other template.

Configure Email Settings For The Template
The Email Settings tab contains options for controlling the behavior when this template is emailed. There are four sections in this tab: Email Subject Settings, Email Recipient Settings, Email Sender Settings, and Other Email Settings.

Email Subject Settings
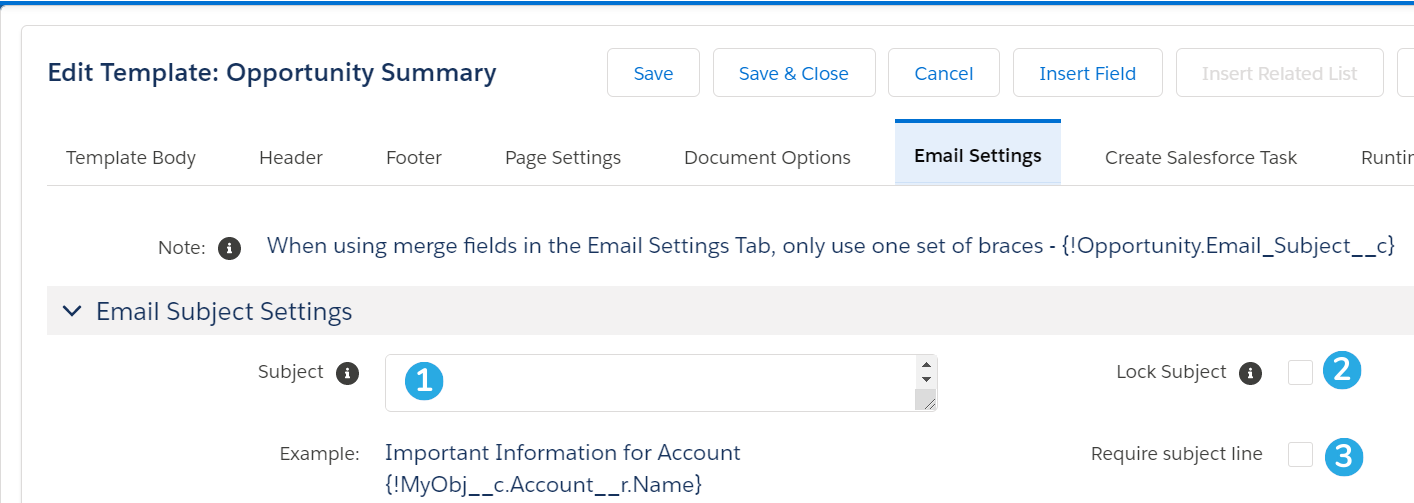
[1] Optionally enter an email subject. You can use static text or merge fields (make sure to use single braces as opposed to double).
[2] Check this box to lock the Subject field to the end-user. If you leave the Subject field blank when this box is checked, the entire Subject field will be hidden on the S-Docs email page.
[3] Check this box to require end-users to enter an email subject before emailing this document.
Email Recipient Settings
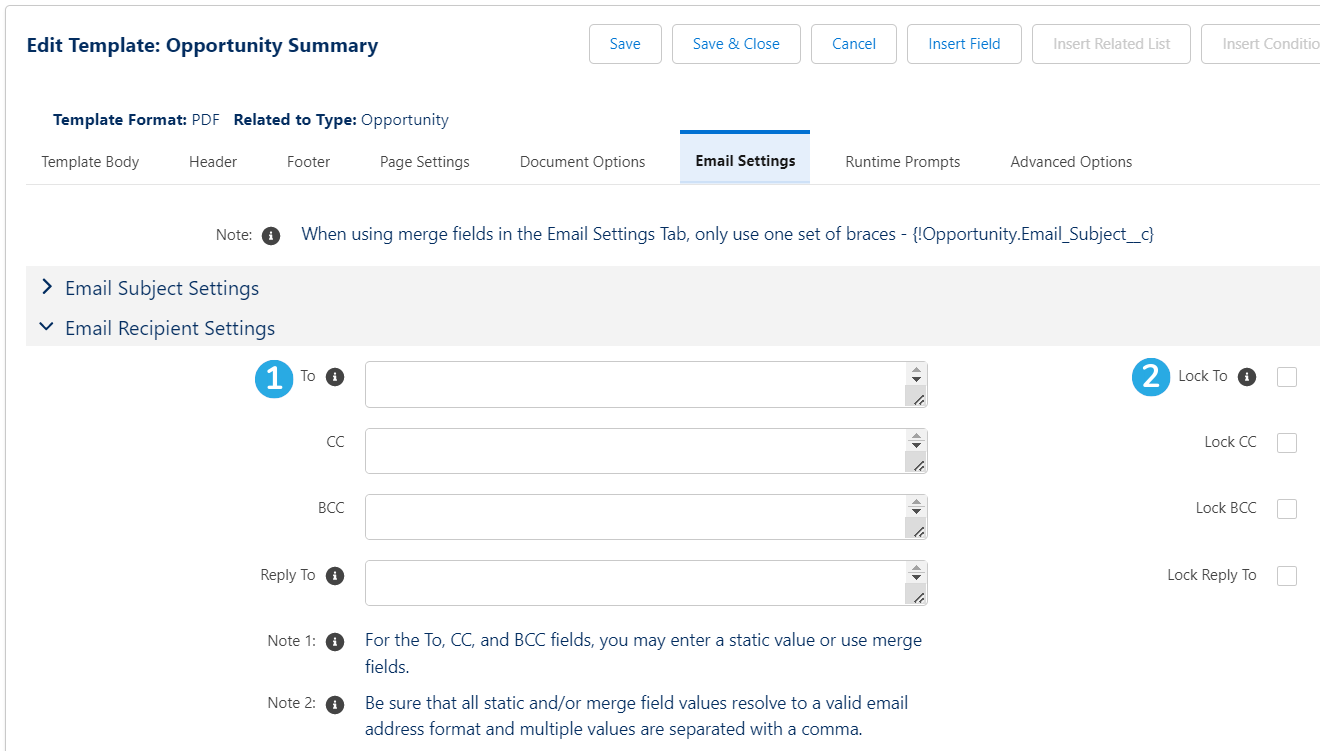
[1] Optionally set the To, CC, BCC, or Reply To email fields. You can use static text or merge fields (make sure to use single braces as opposed to double).
[2] Lock the To, CC, BCC, or Reply To fields so that end-users cannot edit them. Note that if you leave the To field blank when you lock it, this template will not be able to be emailed. Click here to learn more about restricting templates from being emailed. If you leave the CC, BCC, or Reply To fields blank when you lock them, these fields will be hidden on the S-Docs email page.
Email Sender Settings
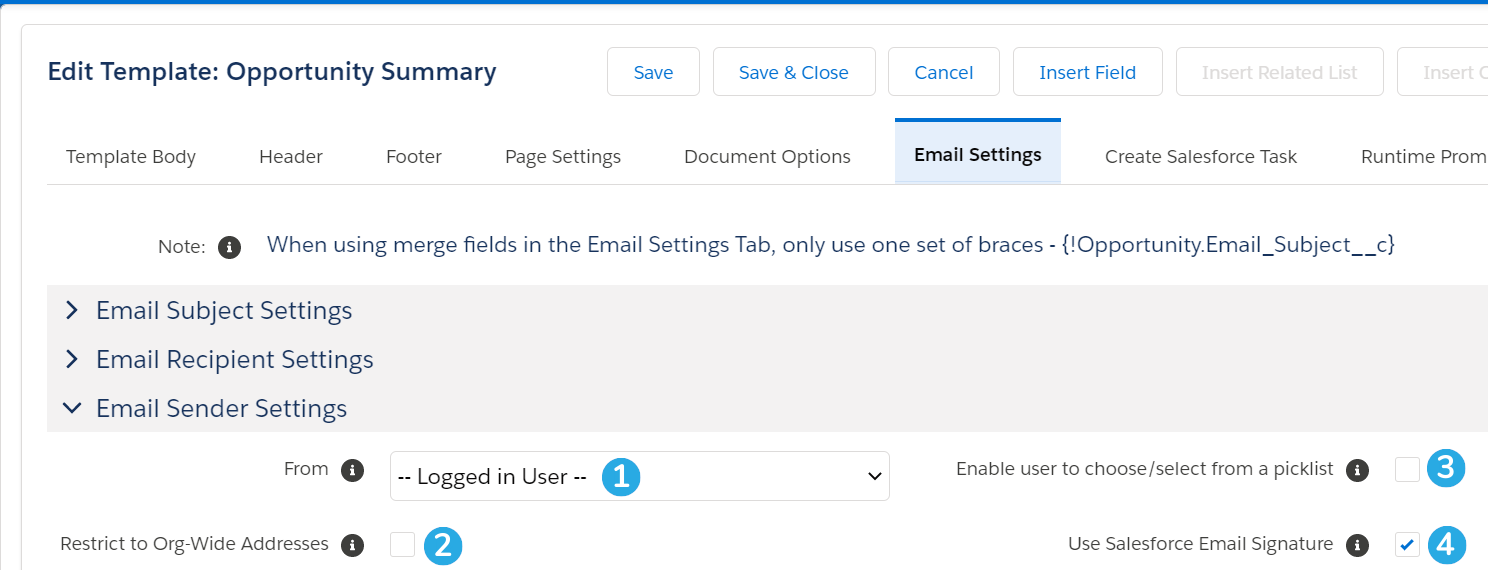
[1] Choose to send this document from the email address of the logged in user, or from one of your Org-Wide email addresses.
[2] Check this box to restrict the email From field to an org-wide email address. This prevents this document from being sent as the logged in user.
[3] Check this box to allow the end-user to pick from a list of your Org-Wide email addresses to send this document from.
[4] Check this box to allow users to use their Salesforce Email Signature in email body templates. You can insert the {{{!UserSignature}}} special merge field to reference the generating user's email signature once this box is checked.
Other Email Settings
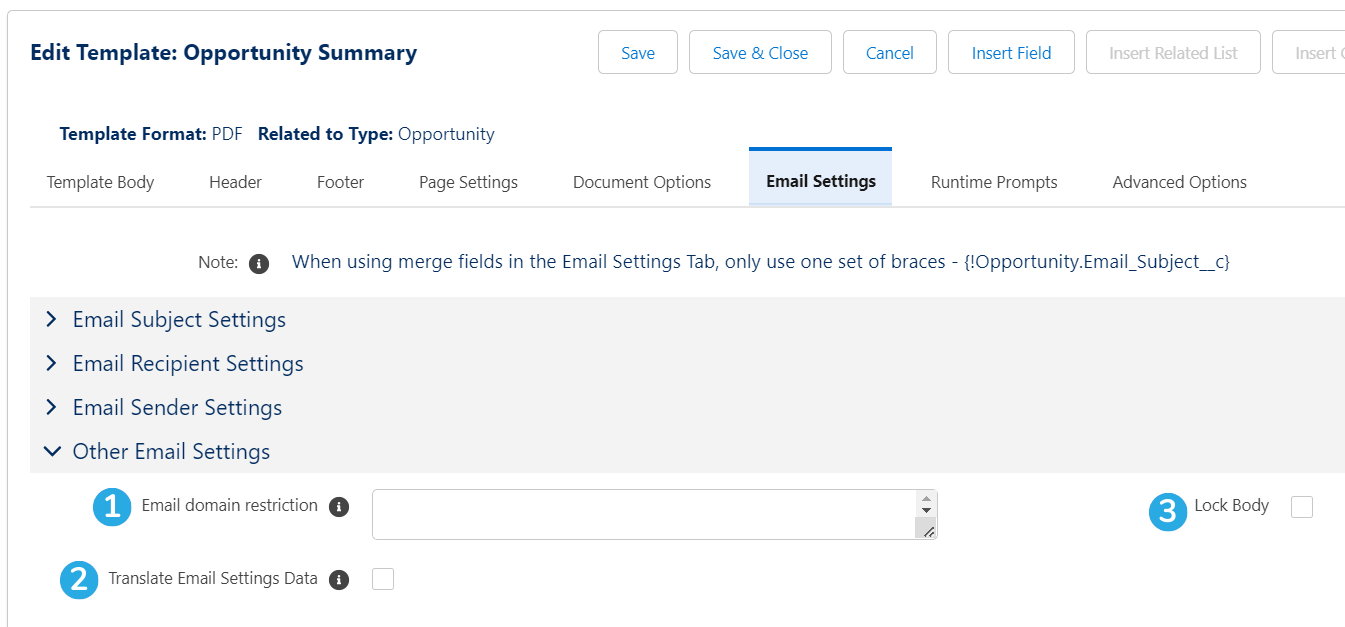
[1] Enter a comma-delimited list of email domains to restrict users from emailing this document to anyone outside of those domains. Example: sdocs.com,trailhead.edu
[2] Check this box if you are using Data Map translations with this template, and have defined translations for merge fields used in the email settings
[3] Check this box to prevent the end-user from modifying the email body when sending this document.
Generate The Email Template
To use your new email template when you're emailing S-Docs, simply select this template in addition to any other S-Doc you'd like to attach to the email.

Generate the docs by clicking Next Step, then click Email Selected Docs.

This opens up the S-Docs email page. As you can see below, S-Docs used the HTML email template to create a custom email to send to the specified contact, and attached the other document (the PDF) to the email. On this page, you can choose email recipients using the Contact Quick Pick or Contact/User Lookup field. Learn more about these features here. Alternatively, if you know the email addresses of the people you’d like to send the document(s) to, you can just type them into the To, CC, and BCC fields. You can also add an email address to send replies to in the Reply To field.
You can also type in a subject line, add additional attachments, and make edits to the email body.

That's all there is to it!
Email Failure Troubleshooting
By default, S-Docs links outbound emails to the contact record with a matching email address; Salesforce requires this linkage. If you try to send an email to an email address that is not listed under any Contact record in your org, S-Docs will attempt to link it to a single dummy contact record called "No Contact Record." This contact record is created automatically by the S-Docs package to handle this linkage, and is immediately deleted once the email is sent.
If your org has implemented validation rules that require additional contact fields to be completed, then the S-Docs package will not be able to create this contact record. In this case, there are two main options.
Option 1 (Recommended)
Create a before insert, before update Apex trigger on the Contact object that automatically changes the fields on the No Contact Record that S-Docs creates so that your validation rules are not triggered. For example, the trigger might look like this if your validation rules prevent the contact field "This_Cannot_Be_Null__c" from being null:
trigger ContactFirstName on Contact (before insert, before update) {
  for (Contact c : trigger.new) {
    if (c.LastName == 'No Contact Record') {
      c.This_Cannot_Be_Null__c = 'some non-null value';
    }
  }
}
With this option, S-Docs will be able to create and delete the No Contact Record, and the email will be sent and logged in Activity History on the base object record.If you require test coverage for your No Contact trigger, you can use the following test class:
Class Name: NoContactTestClass
@isTest
private class NoContactTestClass {
  @isTest public static void noContactTest() {
    Test.startTest();
    Contact testContact = new Contact();
    testContact.LastName = 'No Contact Record';
    insert testContact;
    Test.stopTest();
  }
}
Option 2
Create the S-Docs No Contact Record manually with all of the fields filled in that are required by your validation rules. The fields that S-Docs requires should be filled in as follows:
First Name: Not Required. We recommend writing S-Docs to avoid confusion.
Last Name: No Contact Record
Email Address: this.email@is.invalid
You then need to add the following parameter to the end of your S-Docs button: useExistingNoContactRecord='true'
Example:
{!URLFOR('/apex/SDOC__SDCreate1', null,[id=Opportunity.Id, Object='Opportunity', useExistingNoContactRecord='true'])}
Note: This option is not recommended, as the email will not be logged in Activity History on the base object record.
Sandbox Deliverability
If you are testing S-Docs in a sandbox org and emails are not being delivered, you should check Setup > Email Administration > Deliverability, and check that "Access to Send Email" is set to "All email." By default, Salesforce turns off outbound email access when a sandbox is created to reduce the risk of inadvertently sending emails to contacts during development and testing. Be aware that this change affects the entire sandbox and not just S-Docs.
Tags: Email, Template Editor