Introduction
This guide discusses how to configure and use S-Docs in Salesforce Lightning Experience and how to edit a template in Lightning. You can also view the S-Docs Quick Install and Configuration Guide for Salesforce Lightning Experience for a comprehensive overview of installing and configuring S-Docs in Salesforce Lightning Experience.
Create the S-Docs Button and Add it to an Object's Page Layout in Lightning
If you have not already created an S-Docs button and added it to your page layout, you will need to add a custom button (Note that the S-Docs button comes prepackaged for many standard objects, such as Opportunities, Contacts, and Accounts; however, you still need to add the button to your page layout for these standard objects). To create a new button, you'll need to go to Setup > Object Manager > ObjectNameHere > Buttons, Links & Actions.


Click on New Button or Link and fill in the fields as in the following screenshot. You'll need to modify the button link per your object's API name. In this case, our object is a Product (API name Product2), so we used:
{!URLFOR('/apex/SDOC__SDCreate1', null,[id=Product2.Id, Object='Product2'])}

Note: If you encounter problems with your S-Docs button in lightning, add the lightningnav='true' parameter to your button URL. This step usually isn't necessary, but it can fix problems in lightning should they arise.
{!URLFOR('/apex/SDOC__SDCreate1', null,[id=Product2.Id, Object='Product2', lightningnav='true'])}
Add The S-Docs Button to your Object's Page Layout
Then, you'll have to add your new button to your page layout. Staying within the Object Manager for your object, click Page Layouts on the sidebar, and then click Edit.

Select the button from the Mobile & Lightning Actions box in the toolbar and add it to the Salesforce Mobile and Lightning Experience Actions box in the page layout.

Click Save and you're all set! You can now generate S-Docs in Lightning.
Using S-Docs in Salesforce Lightning - Generating Documents
To generate an S-Doc for a record, go to that record’s page and click the S-Docs button:

Then, select the templates you would like to use. Click Next Step to generate documents derived from the templates you selected:

Once you have generated your documents, you will see the “View Document(s)” page.

This page allows you to [1] select documents for email, [2] view each document, [3] edit documents enabled for Live Edit, and [4] add comments to a document. Clicking the "View" icons will bring up your documents in a separate tab:

Let’s return to the “View Document(s)” page. If Live Edit is enabled for a particular template, you can click the pencil icon corresponding to that document to edit it after it’s been generated:

Emailing S-Docs
After you make your edits, you can click Preview to preview the final document, Save to save and return to the “View Document(s)” page, and Close to discard your changes and return to the “View Document(s)” page.
On the “View Document(s)” page, you can click Email Selected Docs to email your documents. Your documents will be included as attachments on an email. Here, you can edit the email fields as desired, scroll down to edit the body of the email, and click Send to send your email or Cancel to return to your record’s page.

Once you return to your record’s page, you will notice that the S-Docs you generated now appear in the S-Docs related list. You can click View All for a more in-depth look at your S-Docs’ details.

On the following page, you can click the document icon in the “View” column, the mail icon in the “Email” column, or the pencil icon in the “Edit” column to respectively view, email, or edit the corresponding document.

Now, going back to the record we generated S-Docs for, if we scroll down to the bottom of the page, we will see that the email we sent was recorded in the “Past Activity” section. Additionally, the Invoice template was saved in the Notes & Attachments section, but not the Opportunity Summary. This is because “Create Salesforce Attachment” is enabled for the Invoice template but not the Opportunity Summary.

(If you’re an end-user of S-Docs who is just generating documents and not editing templates, you can ignore the following note).

Additionally, note that if the Create Salesforce Attachment and link to record box (found under the Document Options tab of the template editor) is not checked on a template, the documents created with that template in the S-Docs related list will be regenerated each time they are viewed, emailed, or edited. For example, if this box was not checked for an account summary template, and you opened an account summary document from 6 months ago, the document would be regenerated and the current account info would be displayed, rather than the account info from 6 months ago.

Editing S-Docs Templates in Salesforce Lightning
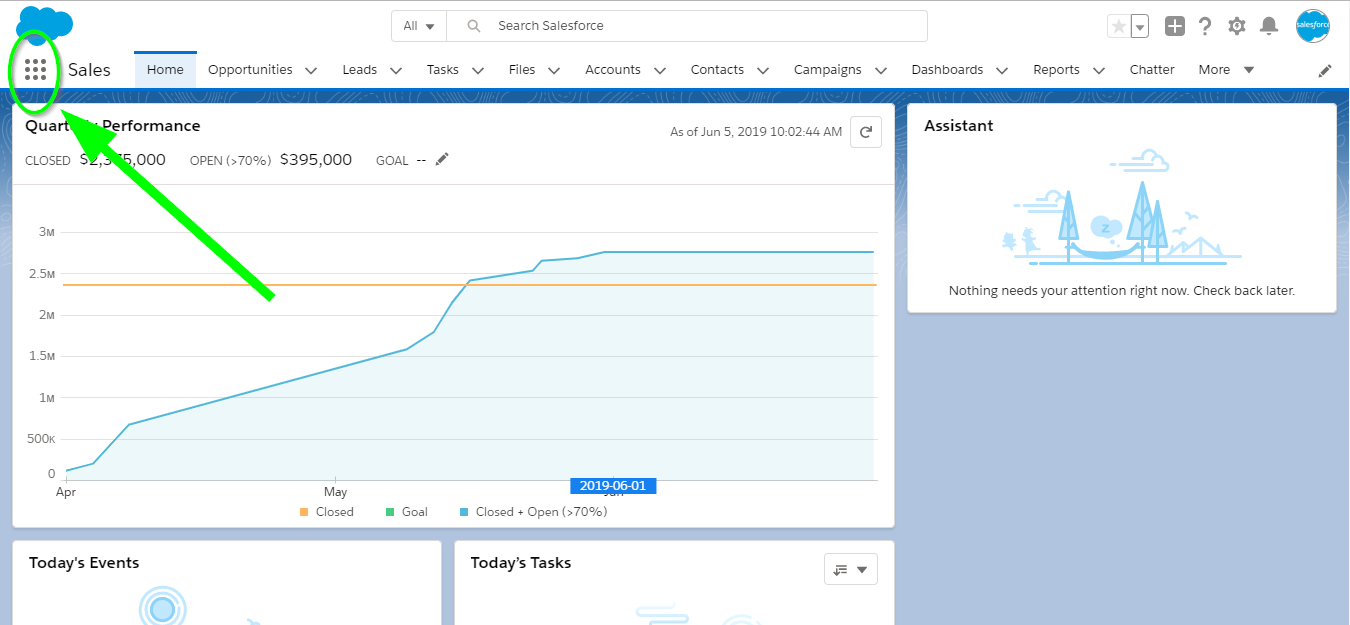
Editing templates in Lightning works just the same as in Classic. The only difference is getting there! To get there, select the S-Docs app from the app launcher.


Then, click the “S-Docs Templates” tab. From here, you can select any template you’d like to edit by clicking on its name.

Once you select a template, you can edit its fields or head over to the template editor to edit the contents of the template itself.

And there it is! Editing your template in Lightning works exactly the same as editing your template in Classic. If you wish to learn more about editing S-Docs templates, please see our overview of the template editor.

Tags: Access/Permissions, Attachments, Edit, Email, S-Docs Button, Template Editor