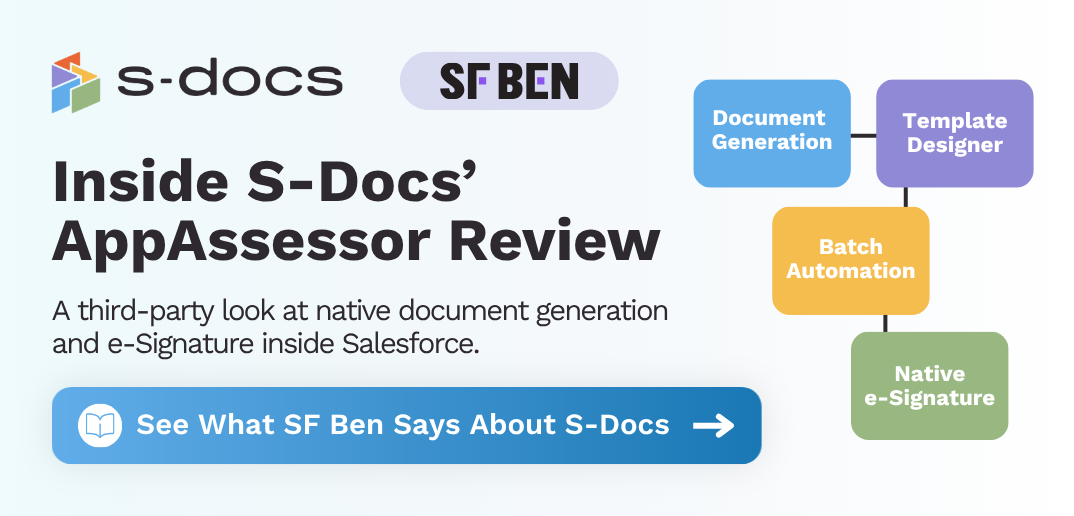


- Pixel-perfect proposals with data merged from HubSpot objects
- Government or state/local forms that required a specific format
Learn how to use the PDF upload feature to generate documents in S-Docs for HubSpot.
1. Navigate to the object that you want to generate a document from in HubSpot.
For this example, we will use the Company object. In the left sidebar, click CRM, then Companies. Select the desired company record.
2. Open the S-Docs app.
Scroll down to the Available Templates card on the right sidebar and click on the arrow icon next to “Manage Templates” under the “S-Docs Homepage” CRM card. You can also open S-Docs through the tabs in your company record if this is set up (to learn how to do that, read this article).
3. Click the Add button.
Select Upload a document from the dropdown. Select Click to add document or drag and drop your PDF into the window. In this example, we'll use a sales quote.
4. Choose your data source.
For this example, we'll use S-Docs for HubSpot. Click on that data source, choose the proper connection, and then select the data source that you want your template to be connected to. For this example, we will choose Company.
5. Name your template.
Click into the Untitled Document field and change the document name.
6. Add and format input fields.
Click the signature icon in the left sidebar and drag and drop your input fields into the template where you would like them placed.
These are fields that your e-Signature recipient will enter data into to complete their e-Signature request. You have a few options:
- Signature
- Initials
- Text
- Date
- Number
- Phone
- Checkbox
- Picklist
For this example, we will drag and drop the Text, Signature, and Date fields into our template.
To edit the field format, click on the field you want to edit and change the field properties in the right sidebar. You can change the field label, size, length, and more.7. Specify signer profiles
If you have multiple signers, you can assign specific fields to each signer profile. Each recipient needs to have a corresponding “Signature Profile” before you add these fields. This profile will have their first name, last name, and email address.
Simply click the Assign to dropdown menu and select Manage profiles. Then, add the signer profiles that you need. Here, you can also change the signer names to match your recipients' names, require a PIN, prefill the signer data, and require signing order.
Once your signer profiles are assigned, you can drop the fields into your document for each signer. They will be color coordinated to the recipient.
8. Add and format variable fields
Click on the variable fields icon in the left sidebar and drag and drop your variable fields into your template. These are the fields that pull in your HubSpot data automatically into the document when you generate it.
You have a few formatting options when it comes to variable fields:
- Field size. To adjust each field’s size, click on the field and drag the corners to resize. You can also type the width and height in the Variable Properties menu, which appears in the right sidebar when you click on a field.
- Variable names. To make a more intuitive experience for users and help cue them on what information will appear where, you can change a variable field's name. In the right sidebar, type what you want to appear in a field under the Variable name field. For instance, you can type “Company name."
Note: The variable source field is not editable. This is because it is designed to let you know where the data is coming from in your HubSpot instance.
- Field styling. At the top of the template editor, you can change the font, size, color, and text formatting.

9. Preview the document by clicking the eye icon in the top right corner.
By default, S-Docs will pull randomized data into the fields in your document to give you an idea of what will be pulled in.
If you want to see a specific HubSpot record’s data merged in the document, go to the Live Preview yellow banner at the top of the document preview and click here. Then, type the name of the HubSpot record you wish to see in the document. Click Apply Now, and the document will pull that record’s data into the variable fields.
14. Click Publish Template button in the top right corner.
This is a live template, so before you publish and send it, ensure your template is finalized. Users who generate documents with this template can see any changes made in real time.
15. Generate a document.
Congratulations, your document is ready to use! Scroll to the Available Templates card in the right sidebar in your HubSpot object. Find the CRM card for your document and click the arrow icon next to “Generate Document.”
You will then be taken to the S-Docs app, where you can review your document and send it for e-Signature.


